Learning how to replace brakes on a car is an essential skill for any car owner. Not only does it save you money on costly mechanic bills, but it also ensures the safety of yourself and others on the road. While it may seem like a daunting task, with the right tools and knowledge, anyone can replace their brakes like a pro. In this blog post, we will guide you through the steps of DIY car maintenance and show you how to replace brakes on a car with ease.
Understanding the Importance of Healthy Brakes
Understanding the Importance of Healthy Brakes
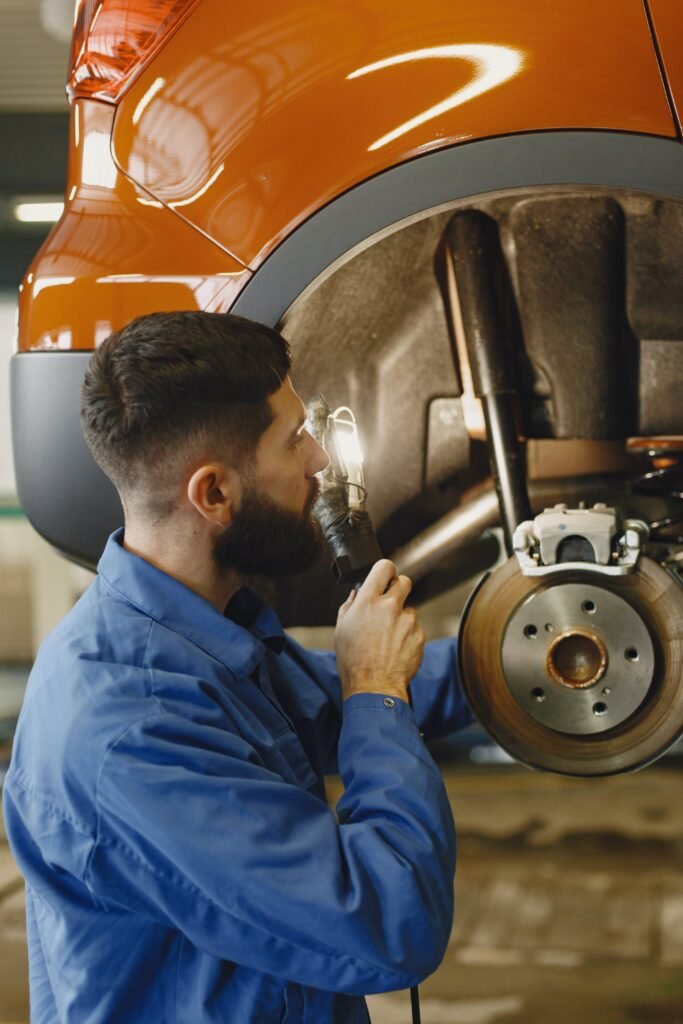
When it comes to car maintenance, one aspect that should never be overlooked is the health of your brakes. Brakes are not just another component of your car; they are vital for your safety and the safety of others on the road. Think about it – brakes are what allow you to stop your vehicle in emergency situations or even just at traffic lights. If your brakes are not in good condition, you are putting yourself and others at risk.
Properly functioning brakes are essential for maintaining control of your vehicle, especially during sudden stops or when driving in hazardous conditions. Imagine trying to navigate through heavy traffic or driving on slippery roads with brakes that are worn out or not functioning properly. It’s a recipe for disaster.
Regularly inspecting and replacing your brake pads, rotors, and other components when needed is crucial for ensuring optimal braking performance. By taking care of your brakes, you are taking an active role in protecting yourself and your loved ones from accidents.
In our next section, we will discuss how to determine when it’s time to replace your car brakes. Stay tuned!
Determining When to Replace Your Car Brakes
When it comes to car maintenance, one of the most important things to keep an eye on is the health of your brakes. Your brakes are what allow you to safely stop your car, so it’s crucial to know when it’s time to replace them. But how do you determine when that time has come?
There are a few signs that indicate it’s time to replace your car brakes. One of the most obvious signs is if you start hearing a squealing or screeching noise when you apply the brakes. This noise is often caused by worn-out brake pads, which need to be replaced.
Another sign to look out for is if you notice that your brakes are not as responsive as they used to be. If you have to apply more pressure to the brake pedal or if you notice a delay in your car slowing down, it may be time for new brakes.
Additionally, pay attention to any vibrations or pulsations that you feel when braking. These could be a sign that your rotors are warped or worn and need to be replaced.
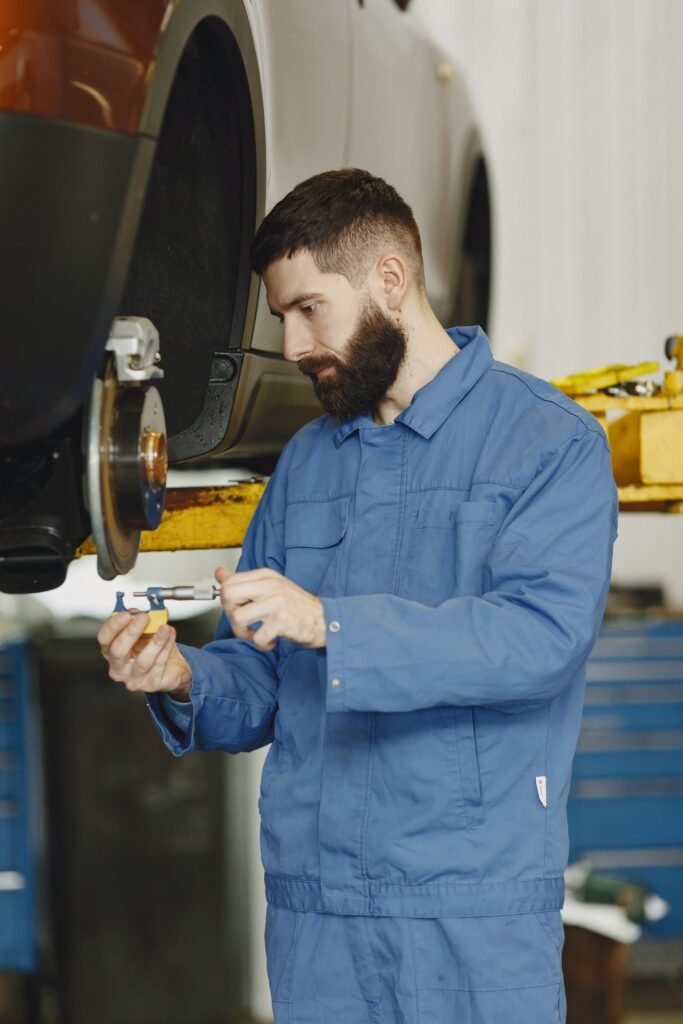
Regular inspections of your brake pads and rotors are also important. If you notice that your brake pads are worn down to less than a quarter of an inch, it’s time to replace them. Similarly, if your rotors are worn down or have deep grooves, they should be replaced as well.
Remember, properly functioning brakes are crucial for your safety and the safety of others on the road. By staying alert to these signs and regularly inspecting your brakes, you can determine when it’s time to replace them and ensure optimal braking performance.
Gathering the Right Tools for Brake Replacement
Gathering the right tools for brake replacement is a crucial step in ensuring a smooth and successful DIY project. Having the proper tools not only makes the process easier but also prevents damage to your vehicle and yourself. So, before you dive into replacing your car brakes, take some time to gather the necessary tools.
First and foremost, you’ll need a good set of wrenches or socket wrenches. These will be essential for removing and installing the various components of your brakes. Make sure to have both metric and standard sizes, as different cars may require different measurements.
Next, you’ll need a C-clamp or brake piston tool. These tools are necessary for compressing the brake caliper pistons when installing new brake pads. Without them, you’ll struggle to fit the new pads properly.
Don’t forget to grab a torque wrench as well. This tool is vital for ensuring that all bolts and nuts are tightened to the manufacturer’s specifications. Over or under tightening can lead to issues down the road, so having a torque wrench will give you peace of mind.
Finally, have a jack and jack stands handy for safely lifting and supporting your vehicle. These will provide stability and prevent any accidents while you’re working on the brakes.
By gathering these essential tools, you’ll be well-prepared to replace your car brakes with ease and confidence. So, make a checklist, gather the tools, and get ready to tackle this DIY project like a pro!
Safely Removing the Wheel and Brake Pads
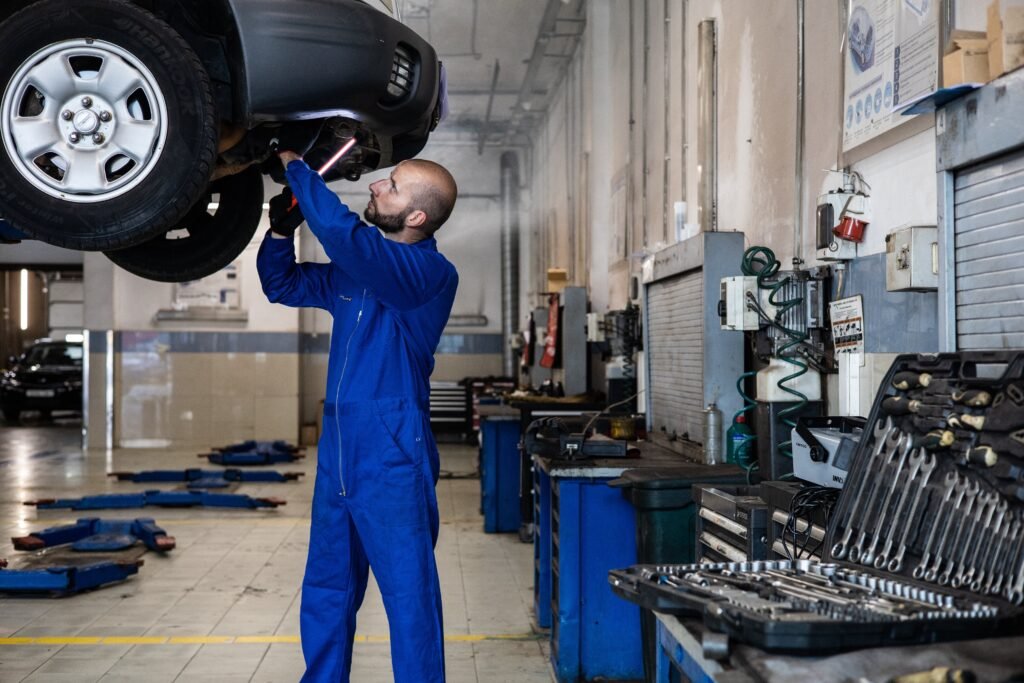
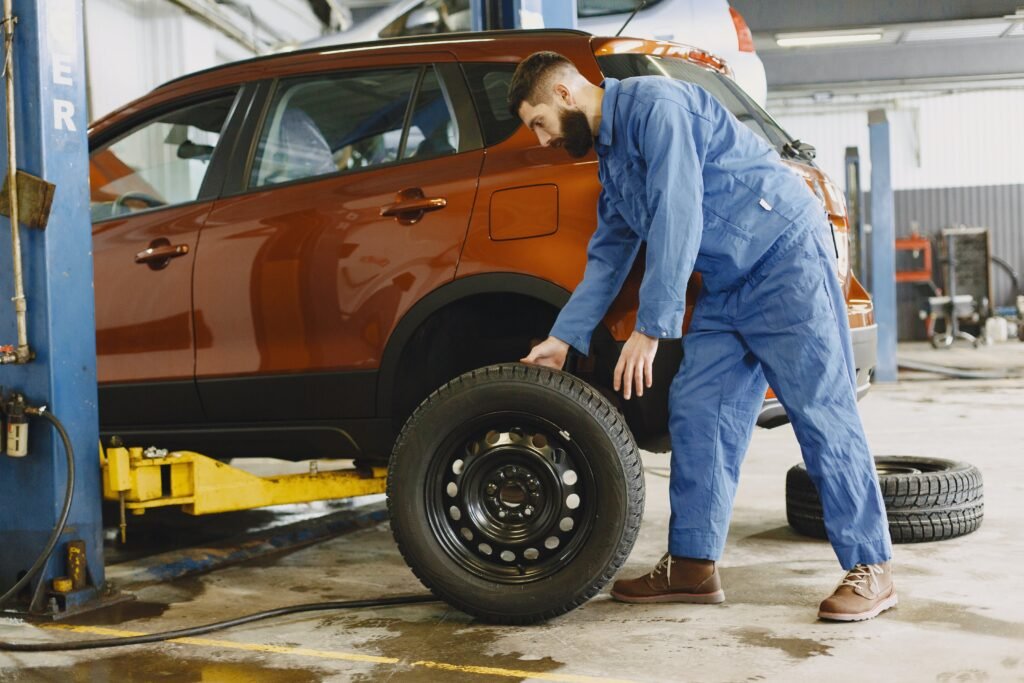
Now that you have gathered all the necessary tools, it’s time to get your hands dirty and start removing the wheel and brake pads. This step is crucial for accessing the brake caliper and replacing the worn-out pads.
To begin, loosen the lug nuts on the wheel that you will be working on. It’s important to do this before jacking up the vehicle, as the weight of the car will keep the wheel from spinning while you try to loosen the nuts. Once the lug nuts are loose, position your jack under the car’s designated jack point and raise the vehicle off the ground. Then, secure the vehicle on jack stands for extra safety.
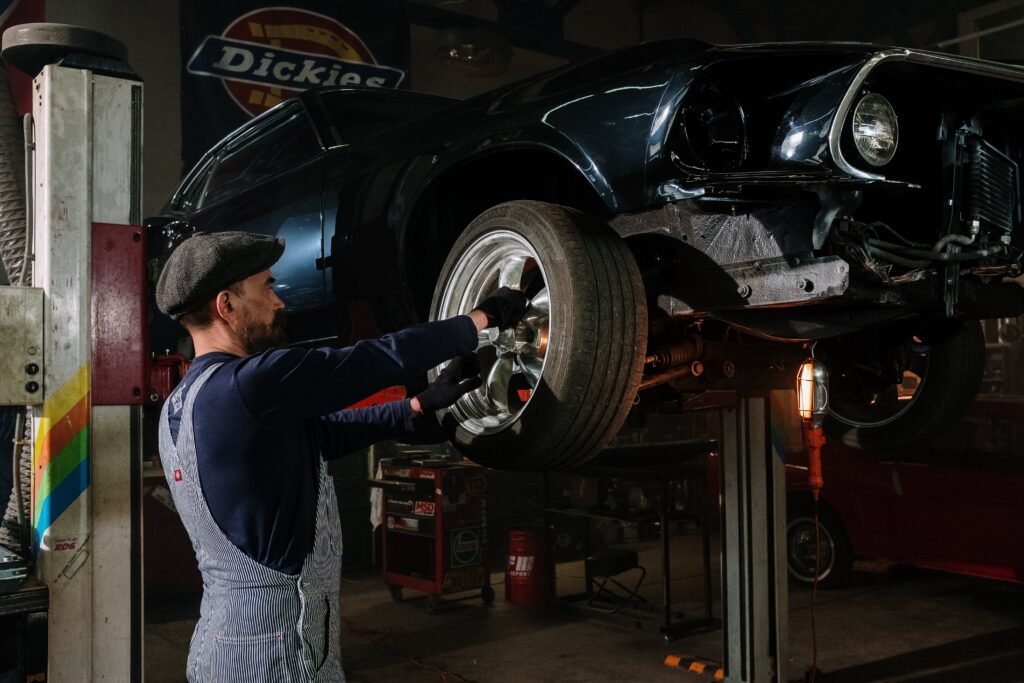
With the wheel off the ground, it’s time to remove the lug nuts completely and slide the wheel off. Set the wheel aside in a safe location, as you will need it later.
Now, you can move on to removing the brake pads. Start by locating the brake caliper, which is the part that houses the brake pads. Using a wrench or socket wrench, loosen and remove the bolts that secure the caliper to the brake assembly. Gently slide the caliper off the rotor and set it aside, being careful not to strain or damage the brake line.
Next, remove the old brake pads from the caliper. Depending on your vehicle, the pads may be held in place by clips or retaining pins. Take note of how they are secured before removing them, as you will need to install the new pads in the same manner.
Congratulations! You have successfully removed the wheel and brake pads. In the next section, we will guide you through the process of installing the new brake pads and ensuring a proper fit. Stay tuned!
Installing the New Brake Pads
Now that you’ve successfully removed the old brake pads, it’s time to install the new ones. This step is crucial for restoring your braking system’s efficiency and ensuring optimal performance on the road.
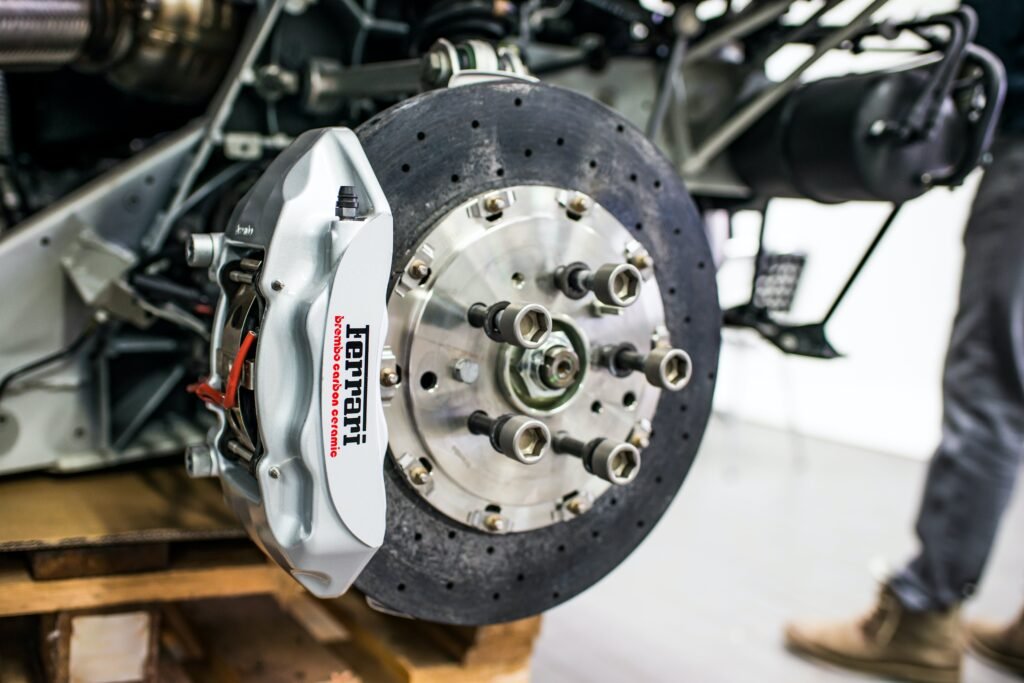
Begin by carefully examining the brake caliper and rotor for any signs of damage or wear. If necessary, clean them using brake cleaner spray to remove any dirt or debris that may have accumulated.
Next, take your new brake pads and apply a thin layer of brake grease to the back of each pad. This will help reduce noise and ensure smooth operation.
Once the grease is applied, insert the new brake pads into the caliper, making sure they fit snugly. If your pads have retaining clips or pins, make sure to secure them properly according to the manufacturer’s instructions.
Once the pads are in place, gently slide the caliper back onto the rotor, aligning it with the brake assembly. Be careful not to damage the brake line during this step.
Finally, use your wrench or socket wrench to tighten the bolts that secure the caliper to the brake assembly. Make sure they are snug, but be cautious not to overtighten them.
Congratulations! You have successfully installed the new brake pads. The next step is to put the wheel back on and check your work. Stay tuned for the next section to learn how to complete this crucial step in your DIY brake replacement project.
Putting the Wheel Back and Checking the Job
Now that you’ve successfully installed the new brake pads, it’s time to put the wheel back on and check your work. This is a crucial step in the DIY brake replacement process, as it ensures that everything is in place and ready for action.
Begin by carefully aligning the wheel with the wheel studs and sliding it onto the hub. Make sure the wheel is centered and flush against the hub before moving on.
Next, thread the lug nuts onto the wheel studs and tighten them by hand. This will ensure that the wheel is securely attached, but not overly tightened.
Once the lug nuts are hand tight, use your wrench or socket wrench to further tighten them in a star pattern. This means tightening one lug nut, then moving to the opposite side, and repeating this process until all the lug nuts are tight.
After tightening all the lug nuts, use a torque wrench to properly tighten them to the manufacturer’s specifications. This is important to ensure that the wheel is securely fastened and will not come loose while driving.
Finally, give the wheel a gentle shake to ensure that it is firmly in place. If it feels loose or wobbles, double-check the lug nut tightness and make any necessary adjustments.
Congratulations! You have successfully put the wheel back on and checked the job. The final step is to repeat this process for the remaining wheels and perform a thorough test to ensure the brakes are functioning properly.
Maintaining Your New Brakes for Longevity
After successfully replacing your car brakes, it’s important to take steps to maintain them for longevity. By implementing proper maintenance techniques, you can ensure that your new brakes will continue to perform at their best and last as long as possible.
One of the most important aspects of brake maintenance is keeping them clean. Brake dust and debris can accumulate on the brake pads and rotors, affecting their performance. Regularly clean your brakes with a brake cleaner spray to remove any dirt or grime.
Additionally, make it a habit to inspect your brake pads and rotors regularly. Check for signs of wear and tear, such as thinning brake pads or grooved rotors. If you notice any issues, promptly replace the affected components to prevent further damage.
Another crucial step in brake maintenance is brake fluid inspection and replacement. Over time, brake fluid can become contaminated or lose its effectiveness. Check the brake fluid levels and color regularly, and if needed, have it flushed and replaced by a professional.
Finally, drive with caution and avoid harsh braking whenever possible. Abrupt and aggressive braking puts extra strain on your brakes, causing them to wear out faster. Maintain a safe following distance and anticipate stops to reduce the need for sudden braking.
By following these maintenance tips, you can prolong the lifespan of your new brakes and ensure that they continue to provide optimal performance and safety.
Common Brake Replacement Mistakes to Avoid
When it comes to replacing brakes on a car, there are several common mistakes that DIYers often make. By being aware of these mistakes and taking steps to avoid them, you can ensure a smooth and successful brake replacement process.
One common mistake is failing to properly lubricate the brake caliper slides and pins. These components play a crucial role in the proper functioning of the brakes, so it’s important to apply a generous amount of high-temperature brake grease to prevent them from seizing up or sticking.
Another mistake to avoid is over-tightening the lug nuts. While it’s important to secure the wheel properly, over-tightening can lead to stripped threads or warped brake rotors. Be sure to follow the manufacturer’s torque specifications and use a torque wrench to ensure the lug nuts are tightened to the correct level.
It’s also important to avoid reusing old brake hardware. This includes retaining clips, shims, and springs. These components can wear out over time, and reusing them can lead to noise, reduced braking performance, or even brake failure. Always replace these components with new ones when replacing the brake pads.
Lastly, rushing the job and skipping important steps can result in improper brake installation. Take your time and carefully follow the manufacturer’s instructions. Skipping steps or rushing through the process can lead to mistakes that can compromise the safety and performance of your brakes.
By being aware of these common brake replacement mistakes and taking the time to avoid them, you can ensure a successful DIY brake replacement and enjoy safe and reliable braking performance.
Testing Your Brakes for Proper Functionality
After successfully replacing your car brakes, it’s crucial to test them for proper functionality. This step is essential to ensure that your brakes are working as they should and to address any potential issues before hitting the road.
To begin the testing process, find a safe and open space where you can drive at various speeds. Start by lightly applying the brakes while driving at a slow speed to ensure they engage smoothly without any jerking or pulling. Gradually increase your speed and test the brakes again to see how they respond under different conditions.
Pay attention to how quickly your car comes to a stop and if there is any noise or vibration when applying the brakes. If you notice any unusual sounds, vibrations, or if the car pulls to one side, it may indicate a problem with the braking system.
Another important aspect of brake testing is to test the effectiveness of your emergency brake. Find a safe location where you can perform an emergency stop. Apply the emergency brake with force and see if it effectively stops the car. If it doesn’t, it’s important to address this issue as soon as possible.
Remember, testing your brakes is not a one-time event. Regularly monitor the performance of your brakes and address any concerns immediately. By testing your brakes and performing routine inspections, you can ensure that your brakes are functioning properly and keep yourself and others safe on the road.
Preventing Future Brake Problems with Routine Inspections
Routine inspections are key to preventing future brake problems and maintaining the longevity of your new brakes. By making inspections a regular part of your car maintenance routine, you can catch potential issues early on and take action before they become major problems.
Start by visually inspecting your brake pads and rotors every few months. Look for signs of wear, such as thinning brake pads or grooved rotors. If you notice any issues, replace the affected components promptly to prevent further damage.
Another important aspect of brake maintenance is checking your brake fluid levels and quality. Brake fluid can become contaminated over time, affecting its effectiveness. Regularly check the fluid levels and color, and have it flushed and replaced if needed.
Additionally, keep an ear out for any unusual sounds or vibrations when braking. If you notice any changes, have your brakes inspected by a professional to identify the source of the problem.
Finally, drive with caution and avoid harsh braking whenever possible. Sudden and aggressive braking can accelerate brake wear and reduce their lifespan. Maintain a safe following distance and anticipate stops to reduce the need for sudden braking.
By incorporating these routine inspections and maintenance practices into your car care routine, you can prevent future brake problems and ensure that your brakes continue to provide optimal performance and safety.
